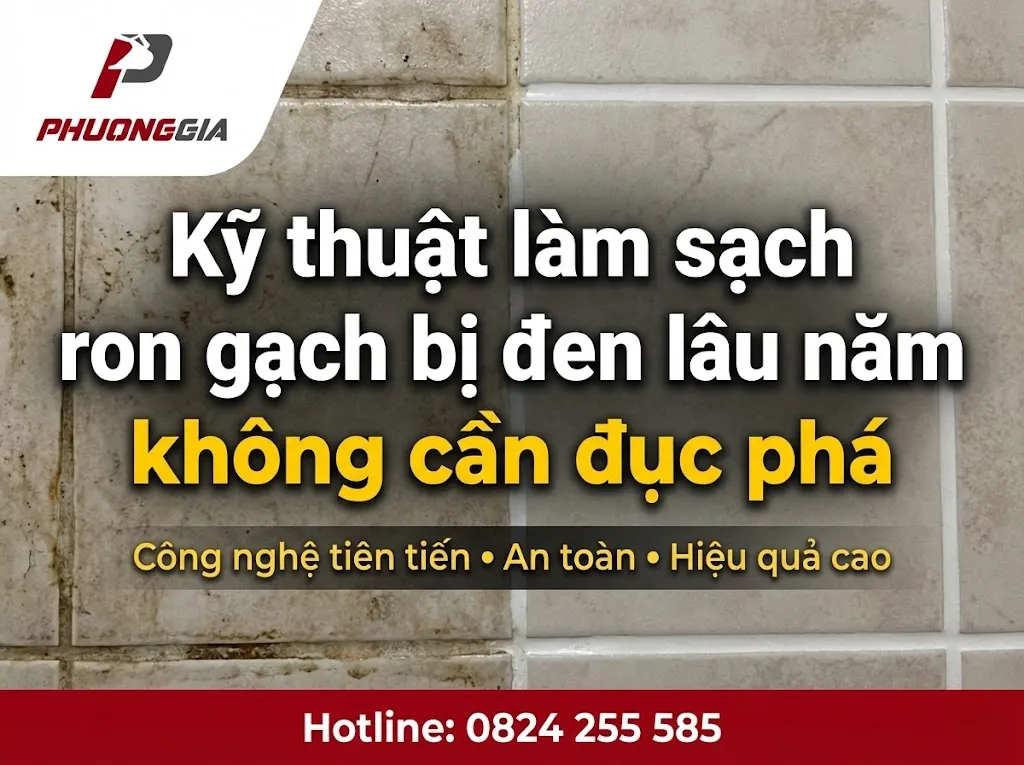
Làm sạch ron gạch bị đen lâu năm không đục phá như thế nào?
Ron gạch đen lâu năm thường do ẩm kéo dài, nấm mốc và cặn bẩn “ăn” vào bề mặt ron. Bạn có thể xử lý mà không cần đục phá bằng cách làm sạch khô, chọn dung dịch phù hợp theo loại vết bẩn, chà đúng lực và rửa sạch hoàn toàn. Sau cùng, làm khô kỹ và phủ bảo vệ để hạn chế tái đen.
- Làm sạch khô và kiểm tra ron
- Thử dung dịch ở vùng khuất
- Chà đúng bàn chải, đúng hướng
- Rửa sạch, làm khô, phủ bảo vệ
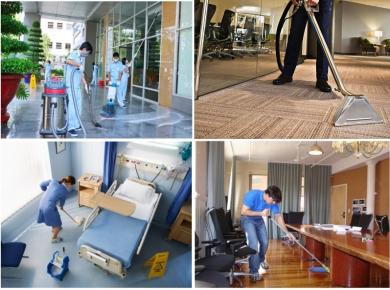
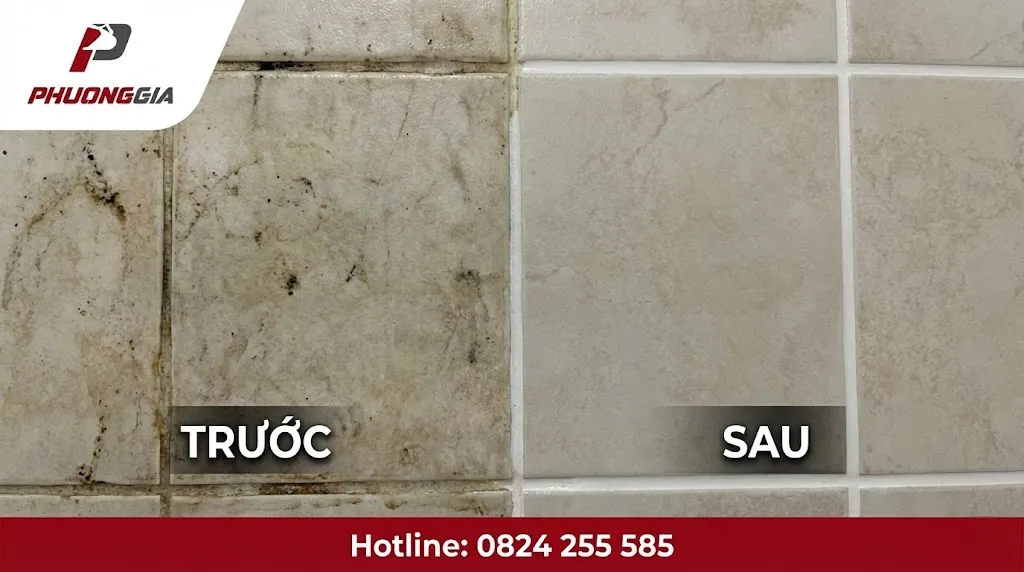
Ron gạch chuyển đen làm bề mặt trông cũ dù gạch vẫn còn bền. Kỹ thuật làm sạch ron gạch bị đen lâu năm không cần đục phá hiệu quả nhất khi đi theo nguyên tắc “nhẹ trước, mạnh sau” và kiểm soát ẩm sau khi tẩy. Phương Gia Foundation thường gặp tình trạng này ở nhà tắm, khu bếp, ban công và chân tường nơi hay đọng nước. Nếu xử lý đúng, ron có thể sáng lên rõ rệt mà không cần cạo bỏ toàn bộ. Phần hướng dẫn tập trung vào nhận diện vết bẩn, quy trình từng bước, lỗi hay gặp và cách chống đen trở lại.
Ron gạch bị đen lâu năm do đâu?
Phần lớn ron gạch có cấu trúc xốp nên dễ giữ ẩm và giữ cặn bẩn. Khi ẩm tồn tại lâu, nấm mốc phát triển và tạo mảng đen bám chặt. Nếu bẩn do dầu mỡ hoặc cặn xà phòng, ron thường xỉn màu, bề mặt hơi nhớt và khó sạch nếu chỉ lau nước.
- Ẩm kéo dài: nhà tắm, chân tường, khu giặt.
- Nấm mốc: chấm đen, mùi ẩm, tái nhanh.
- Cặn xà phòng: mảng xám, bám dính.
- Dầu mỡ bếp: ron sẫm, khó tẩy.
- Vệ sinh sai cách: ron rỗ, bẩn “ăn” sâu.
Nhận diện loại ron và thử nghiệm an toàn trước khi tẩy
Chọn sai cách tẩy là nguyên nhân khiến ron loang màu hoặc nhanh mục. Bạn cần nhận diện ron xi măng, ron epoxy và keo silicone ở mép tiếp giáp để chọn dung dịch phù hợp. Khi chưa chắc, hãy ưu tiên dung dịch nhẹ và thử trên đoạn khuất trước.
Bạn có thể dựa vào checklist vệ sinh nhà theo khu vực để xác định khu vực ẩm, khu vực dầu mỡ và thứ tự xử lý, tránh làm sạch xong rồi lại bắn bẩn ngược trở lại.
- Ron xi măng: hút nước nhanh, dễ ngả màu theo thời gian.
- Ron epoxy: ít hút nước, thường chỉ bẩn trên bề mặt.
- Keo silicone: hay mốc đen ở góc, cần xử lý riêng.
Nguyên tắc thử nhanh: bôi dung dịch lên đoạn nhỏ 3–5 phút, chà nhẹ rồi rửa sạch. Nếu ron nhạt màu bất thường hoặc bề mặt bở, dừng ngay và đổi sang phương án nhẹ hơn.
Dụng cụ và dung dịch nên chuẩn bị
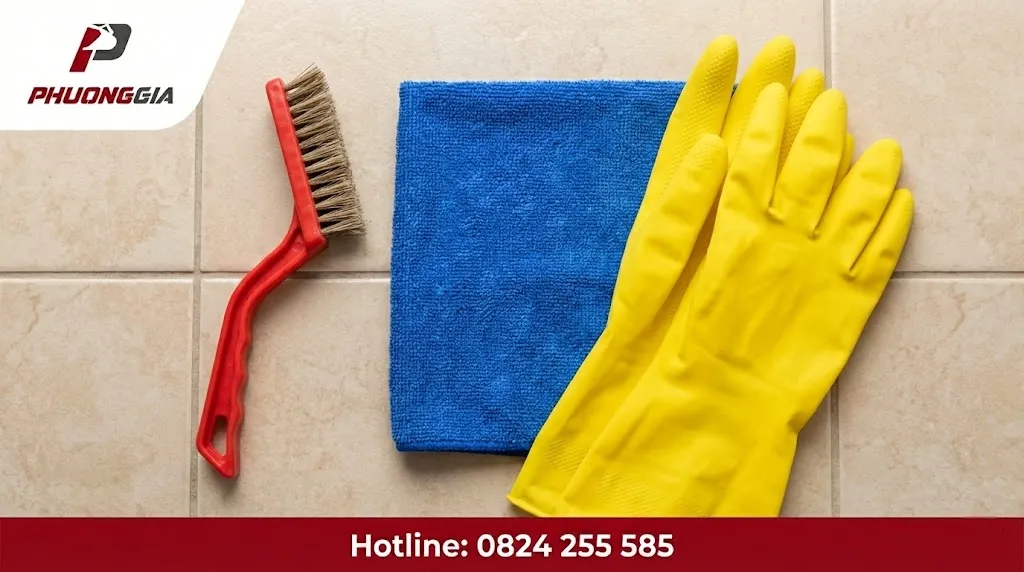
Chuẩn bị đúng giúp chà sạch mà không làm xước gạch hoặc mẻ ron. Bạn nên dùng bàn chải ron lông cứng vừa, khăn microfiber và xô nước sạch để rửa nhiều lượt. Với hóa chất, ưu tiên nhóm tẩy ôxy và dung dịch kiềm nhẹ trước khi nghĩ đến chất tẩy mạnh.
- Bàn chải ron, bàn chải kẽ, khăn microfiber.
- Nước rửa chén, baking soda hoặc bột tẩy ôxy.
- Ôxy già (hydrogen peroxide) để xử lý mốc bám.
- Găng tay, khẩu trang, mở cửa thông gió.
Không trộn tẩy clo với chất có tính axit hoặc amoniac. Luôn rửa sạch kỹ sau mỗi lượt tẩy để tránh dư chất làm ron yếu dần.
Quy trình 5 bước làm sạch ron không cần đục phá
Quy trình hiệu quả nhất là làm sạch khô, làm mềm vết bẩn, chà đúng lực, tăng mức tẩy khi cần và rửa sạch triệt để. Hai yếu tố quyết định là thời gian ngâm và mức rửa lại sau cùng. Nếu nền có bụi mịn do thi công, hãy xử lý lớp bám trước để tránh kéo bẩn vào ron.
Khi cần gỡ bụi xây dựng bám dai, quy trình làm sạch nền mới xây giúp bạn xử lý phần bề mặt rồi mới tập trung vào mạch ron.
- Bước 1: quét/lau khô, hút bụi dọc đường ron.
- Bước 2: làm ẩm nhẹ ron để dung dịch thấm đều.
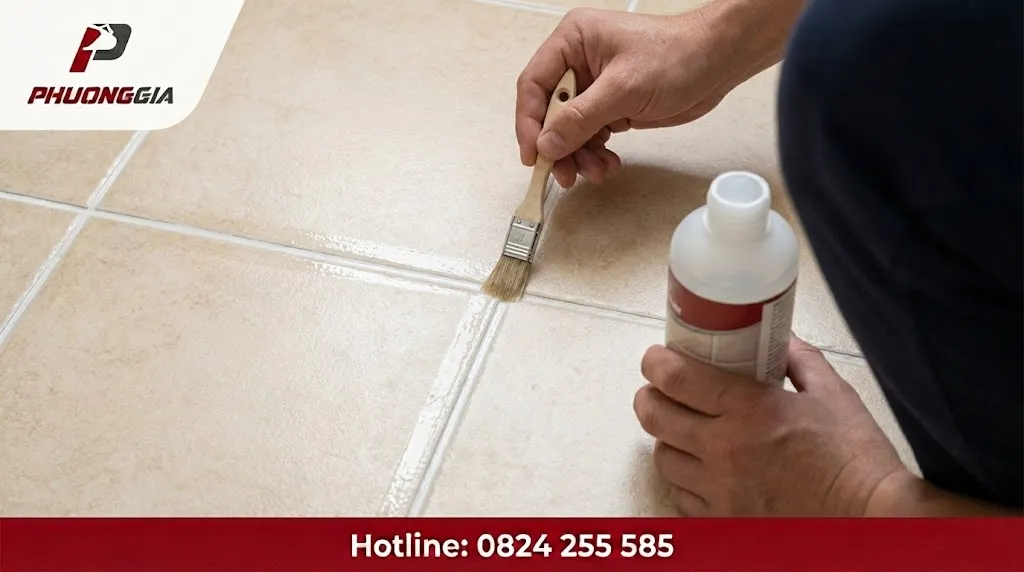
- Bước 3: bôi dung dịch, chờ thời gian ngâm phù hợp.
- Bước 4: chà theo chiều ron, tăng dần lực vừa đủ.
- Bước 5: rửa sạch 2–3 lượt, lau khô hoàn toàn.
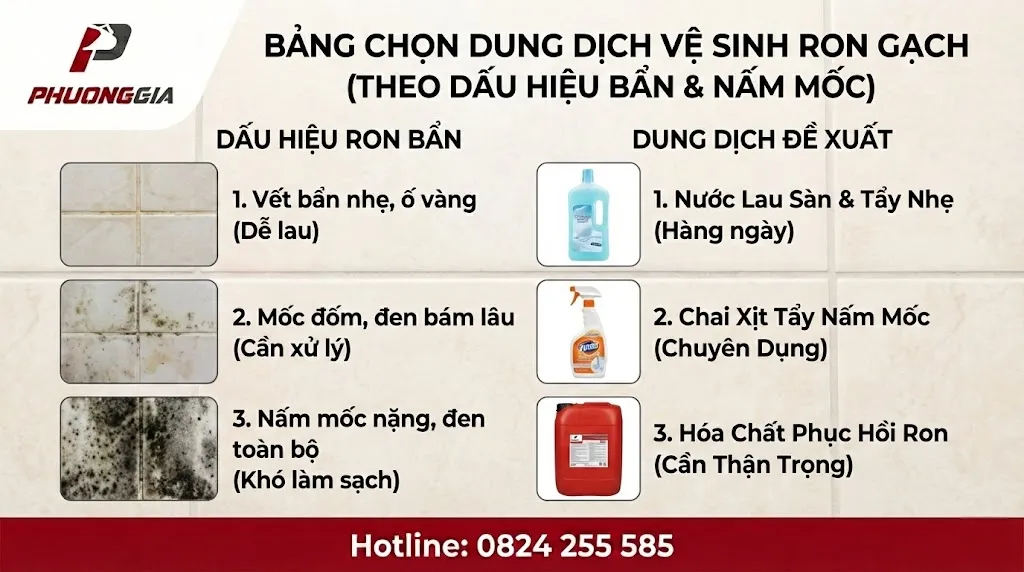
Chọn dung dịch theo dấu hiệu vết bẩn
Nhìn đúng “dấu hiệu” giúp bạn tránh dùng hóa chất quá mạnh. Với ron epoxy, bẩn thường nằm trên bề mặt nên chà đúng cách sẽ hiệu quả hơn tăng hóa chất. Với ron xi măng, ưu tiên tẩy ôxy để giảm rủi ro làm ron rỗ.
| Dấu hiệu | Nguyên nhân hay gặp | Ưu tiên xử lý |
|---|---|---|
| Xỉn xám, bột bẩn | Bụi + cặn bám | Kiềm nhẹ + chà |
| Mảng nhớt, sẫm màu | Dầu mỡ / xà phòng | Tẩy ôxy + rửa kỹ |
| Chấm đen, mùi ẩm | Nấm mốc | Ôxy già + làm khô |
Ba tình huống thường gặp và cách làm
Mỗi tình huống cần thời gian ngâm và số lượt rửa khác nhau. Bạn luôn làm từ một đoạn nhỏ để kiểm soát kết quả trước khi làm diện rộng. Nếu ron quá rỗ hoặc đã nứt, chà mạnh chỉ làm bong thêm.
- Xỉn màu nhẹ: dùng baking soda + nước rửa chén, ngâm 5–10 phút rồi chà.
- Bám lâu, “ăn” sâu: dùng bột tẩy ôxy, ngâm 10–15 phút, chà và rửa nhiều lượt.
- Mốc đen: dùng ôxy già, chờ theo hướng dẫn, chà nhẹ rồi rửa sạch kỹ.
Checklist kiểm tra sau khi tẩy và cách chống đen trở lại
Ron sạch nhưng còn ẩm hoặc còn dư chất tẩy thì rất dễ tái đen. Bạn cần rửa đến khi không còn bọt và lau khô hoàn toàn trước khi phủ bảo vệ. Với khu vực ẩm, thói quen gạt nước và thông gió thường hiệu quả hơn tẩy lặp lại.
- Rửa sạch: tối thiểu 2 lượt nước sạch.
- Lau khô: khăn microfiber, để khô thêm vài giờ.
- Vá điểm hở: trám các rãnh nứt nhỏ trên ron.
- Phủ bảo vệ: sealer ron hoặc bút sơn ron khi đã khô.
Nếu cần đối chiếu mức độ công việc theo hạng mục để tự ước lượng, khung giá vệ sinh nhà tại TP.HCM có thể dùng như một tài liệu tham khảo phạm vi, tránh bỏ sót phần làm khô và xử lý góc khuất.
Khi nào nên xử lý chuyên nghiệp thay vì tự làm?
Tự làm phù hợp khi ron còn chắc và chỉ bẩn bề mặt. Bạn nên chuyển sang xử lý chuyên nghiệp khi ron bở, bong bột hoặc mốc lan rộng và tái nhanh dù đã làm khô. Trường hợp này thường cần kết hợp tẩy đúng cách, kiểm soát ẩm và xử lý các điểm tiếp giáp bị mốc.
Phương Gia Foundation có thể hỗ trợ khi bạn cần làm đồng bộ nhiều khu vực, đặc biệt là nhà tắm và bếp, theo dịch vụ vệ sinh nhà chuyên sâu TP.HCM để đảm bảo rửa sạch, làm khô và chống tái bẩn theo quy trình.
- Ron bong bột khi chà nhẹ hoặc có vệt nứt dài.
- Mốc đen lan vào góc silicone, chân tường, khe hẹp.
- Đã tẩy nhiều lần nhưng tái đen trong thời gian ngắn.
- Bề mặt gạch/đá đặc thù cần dung dịch chuyên dụng.
Câu hỏi thường gặp (FAQ)
Ôxy già có làm hỏng ron gạch không?
Nếu dùng đúng hướng dẫn và rửa sạch, ôxy già thường phù hợp với ron bị mốc. Bạn vẫn nên thử ở vùng khuất để kiểm tra đổi màu.
Vì sao ron vừa tẩy xong lại đen trở lại?
Nguyên nhân hay gặp là còn ẩm và còn dư cặn trong lỗ ron. Hãy rửa kỹ hơn và làm khô triệt để, nhất là ở nhà tắm.
Có nên chà ron bằng bàn chải kim loại?
Không nên vì dễ làm xước gạch và mẻ ron. Hãy dùng bàn chải ron lông cứng vừa hoặc bàn chải kẽ.
Máy hơi nước nóng có thay thế hóa chất không?
Hơi nước nóng giúp làm mềm bẩn và hỗ trợ chà, nhưng không luôn xử lý mốc triệt để. Bạn có thể kết hợp với dung dịch phù hợp rồi rửa sạch.
Khi nào cần thay ron thay vì làm sạch?
Khi ron bong bột, nứt rộng hoặc mất liên kết với gạch, làm sạch chỉ là tạm thời. Lúc đó nên sửa ron để tránh thấm nước vào nền.
Kết luận
Ron gạch đen lâu năm có thể xử lý mà không cần đục phá nếu bạn đi đúng trình tự và kiểm soát ẩm sau khi tẩy. Hãy bắt đầu bằng làm sạch khô, thử dung dịch ở vùng khuất và chà đúng hướng để tránh làm ron rỗ thêm. Khi cần tăng hiệu lực, ưu tiên tẩy ôxy hoặc ôxy già rồi rửa sạch nhiều lượt để không còn dư chất. Cuối cùng, làm khô triệt để và phủ bảo vệ giúp ron bền màu hơn. Nếu ron đã bở hoặc mốc tái nhanh, xử lý theo quy trình chuyên nghiệp thường cho kết quả ổn định hơn.